Drop-off Locations Beta
Set up the places where growers deliver what they've sold, and route everything to the pickup locations where your customers expect it
Pickup Locations vs. Drop-off Locations
These two kinds of locations answer two different questions:
- Pickup locations are where customers collect their orders. See the Pickup Locations guide for those.
- Drop-off locations (this feature) are where growers deliver what they've sold each ordering cycle.
In many markets these are the same place — everyone meets at the church hall on Saturday morning. But some markets spread out: growers on the north side of the county drop their items at one farm, growers on the south side at another, and market staff then move everything to wherever customers pick up. Drop-off locations let you organize that routing: each grower chooses (or is assigned) the drop-off spot they deliver to, and the system tells you exactly what needs to travel from each drop-off to each pickup location.
Turning On Drop-off Locations
- Open your Market Manager dashboard (the admin page)
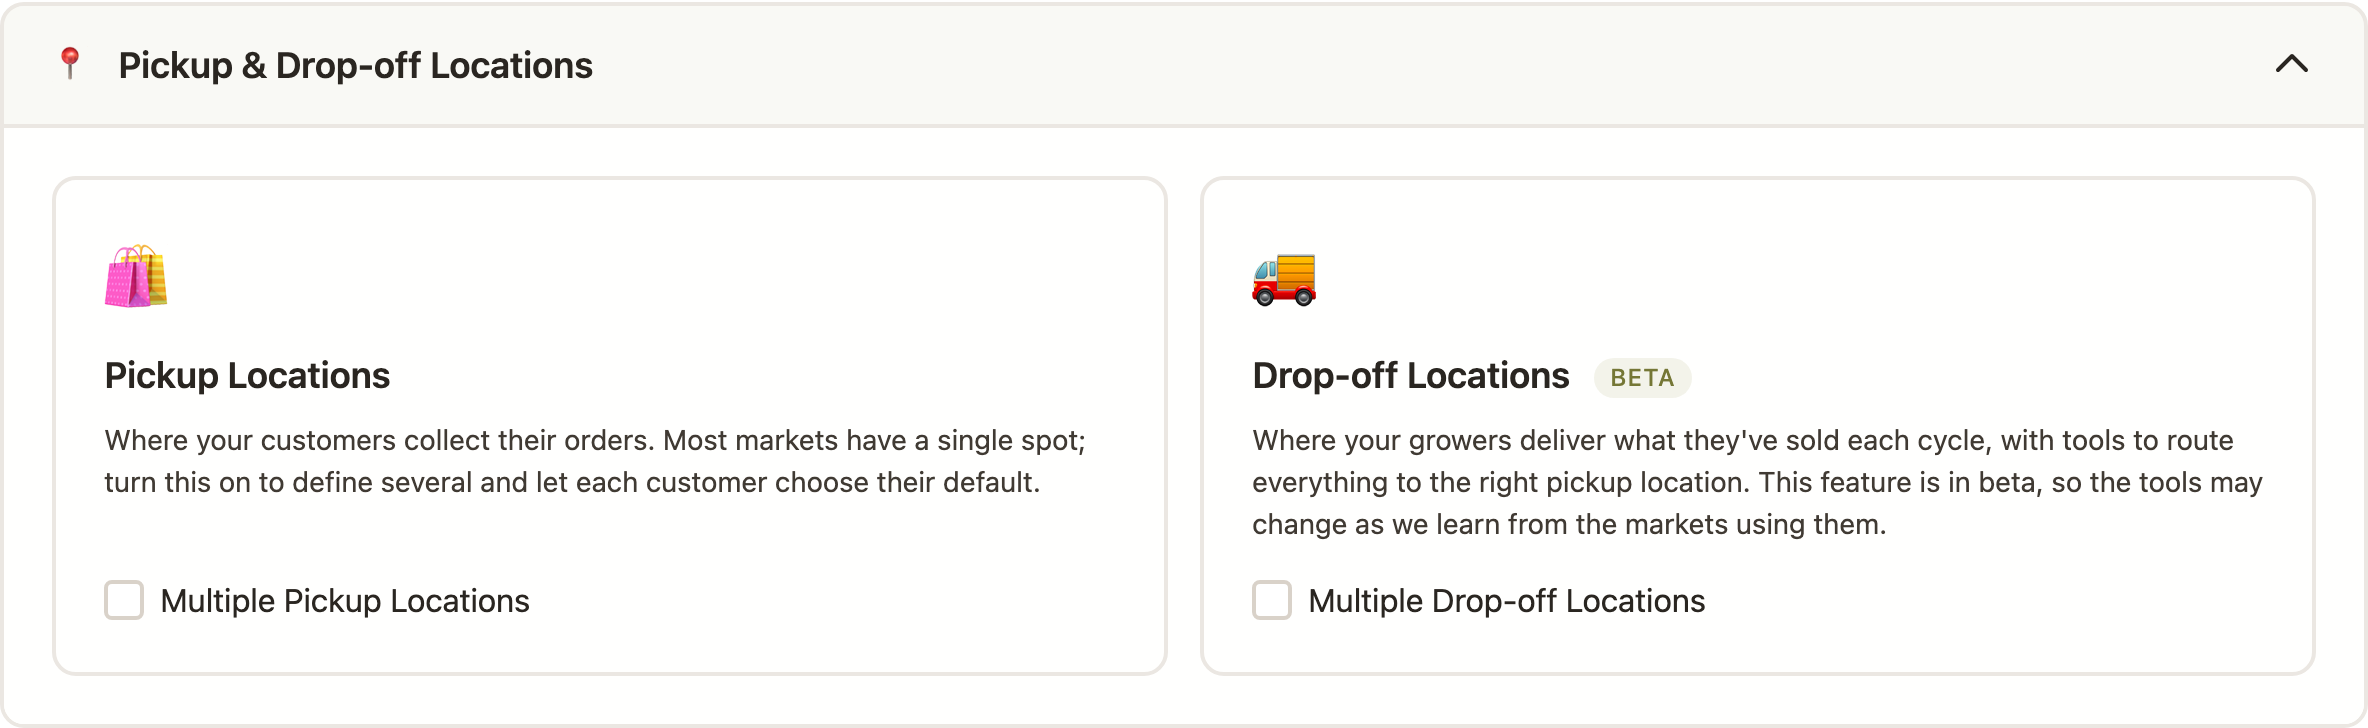
- Expand the "Pickup & Drop-off Locations" section
- Check "Multiple Drop-off Locations" on the Drop-off Locations card — the change saves immediately
Once enabled, a "Manage Drop-off Locations" button appears right there in the section (and on your pickup locations page), plus a new Transfers link in the Order Fulfillment card of your manager panel. Your existing Check-In page switches to the drop-off flow automatically.
Turning the checkbox off later hides all the drop-off screens, but your locations and grower assignments are kept — re-enable it and everything comes back.
Setting Up Your Drop-off Locations
Manage drop-off locations at /locations/dropoffs, reached from the "Manage
Drop-off Locations (Beta)" button on your pickup locations page. Each location in the list
shows how many growers currently deliver there, along with its phone number and grower
notes — so you see the same details your growers see. A View on Interactive Map button shows every active location on a map; growers
and staff can reach the same map from the grower dashboard.
Adding a Standalone Drop-off
Click Add Drop-off Location and fill in:
- Name — what growers will see when choosing where to deliver
- Address — the full street address, including city and state. It's looked up to place the spot on the View on Interactive Map view, so give it as complete an address as you can; if a location lands in the wrong city or state, the address is usually missing the city/state or has extra non-address text in it. Keep landmark details (like "church parking lot") in the notes below, not in the address.
- Phone (optional) — who to call on delivery day
- Drop-off hours (optional) — when deliveries are expected, like "Fridays 4-6pm"
- Notes for growers (optional) — gate codes, where to park, who to ask for. Growers see these (along with the address and hours) under the location selector on their dashboard
Using a Pickup Location as a Drop-off
If a drop-off spot is the same place customers pick up, don't re-type its details. Use the "Or use a pickup location as a drop-off" picker instead:
- The location appears in your drop-off list with an "Also a pickup location" badge
- Its name, address, and details stay in sync automatically — edit the pickup location and the drop-off side updates too
- On transfer manifests, items dropped there that are destined for that same pickup location are marked "stays here" — no van required
- Click Unlink if the two places stop being the same: the drop-off becomes standalone with its own copy of the details, which you can then edit independently
Pausing and Resuming
Use Pause for seasonal spots — a drop-off that only runs during the summer, for example. Pausing keeps every grower's assignment, so when you Resume it in the spring, nobody has to re-select it. While a location is paused, growers can't choose it, and growers still assigned to it are treated as unassigned on manifests so you don't lose track of their items.
Deleting
You can only delete a drop-off location when no growers deliver there. If growers are still assigned, reassign them first — or just pause the location instead.
How Growers Choose Their Drop-off
Each grower has a single drop-off location setting. (There's a grower-facing guide you can point your growers to.) They can set it in two places:
- Their dashboard — the "Your Drop-off Location" card in the grower panel, handy for quick changes
- Their grower profile edit form — alongside their other details
When you have more than one location, the dashboard card also offers a "Compare all locations" expander — every spot's address, phone, hours, and notes side by side — plus a link to the drop-off map, so growers can pick the spot that suits them without having to ask you.
When Changes Are Allowed
- While ordering is open: growers can change their drop-off location anytime
- Once ordering closes and order fulfillment begins, the setting is locked for growers — they'll see a message telling them to contact the market manager if it needs to change
- Market managers can change any grower's drop-off at any time via the grower's profile, even during fulfillment
Growers Without a Drop-off
A grower who hasn't chosen a drop-off (or whose drop-off is paused) shows up under a red Unassigned section on the transfer manifests. Nothing is blocked — their items still appear in orders as usual — but you'll want to check in with them so you know where their items will turn up.
Drop-off Check-in
With drop-off locations enabled, your regular grower check-in page (/orders/checkin, linked from the Order Fulfillment card on your manager
panel) organizes deliveries by drop-off location instead of one grower at a time. Market
managers and volunteers can both use it. (Bookmarked the old /orders/dropoff-checkin address? It still works — it just forwards here.)
- Pick a drop-off location from the dropdown — or Unassigned growers for anyone who hasn't chosen a location yet, plus items the market sells itself
- See the expected growers — everyone assigned to that drop-off with items in open orders, with each grower's items listed
- Check the "Goes to" column — each item shows the pickup location it's ultimately headed for
- Flag problems as growers deliver — click Mark missing on anything that didn't arrive, or It arrived to undo
A few things to make the desk job easier when a grower pulls up:
- Call or text whoever's delivering. Each grower shows every team member on their account with tap-to-call and tap-to-text links — handy when someone's running late.
- Move a grower's drop-off on the spot. Managers get a Drop-off selector next to each grower; if they say they're delivering somewhere else today, switch it right there and the grower drops off this location's list. (Growers can't switch once ordering closes, but managers always can.)
- Jump to an order. Managers can click an order number to open it for notes or price/quantity adjustments.
Transfers
The Transfers page (/orders/transfers, also linked from the Order Fulfillment
card and from the Related Views row on your orders list) answers the routing question: what needs to travel from where to where? It's built from the current open orders.
The Overview Matrix
At the top you'll see a table with drop-off locations down the side and pickup destinations across the top. Each cell shows how many items need to move along that route. When a drop-off is the destination pickup location (a linked location), the cell is marked "stays here" — those items don't need transport.
Per-Route Manifests
Below the matrix, pick a drop-off (click its name or count in the overview, or use the dropdowns) to load its manifest — the "load the van" sheet. You can narrow further by destination and grower, down to a single grower's load for a single van to a single stop, so a big market's volunteers aren't scrolling through every route at once:
- Items are grouped by grower, then product
- Each line shows quantity, order number, and customer name for reference
- Check-off boxes sit alongside each line — tick them on screen as items are loaded (ticked rows dim so you can see what's left), or print blank ones to tick with a pen. On-screen ticks are a working checklist, not a saved record: they reset when the page reloads
- If you give your pickup locations a color (on the Locations page), each manifest block is tinted with its destination's color. Since you're looking at one drop-off at a time, every block shares the same origin — so coloring by destination is what tells the piles apart at a glance, to match color-coded signage at your pickup spots. It's optional; leave colors unset and the blocks stay plain.
- Click Export manifests as PDF to download the whole set — overview matrix plus one sheet per route — ready to print or share
The Unassigned Section
Items from growers with no active drop-off location appear in a red Unassigned section, with a count called out at the top of the page. Chase those down before delivery day: either the grower picks a drop-off, or you assign one for them from their profile.
Market-Supplied Items
Items your market sells directly (rather than a grower) get their own Market-supplied group on the manifests. They don't have a drop-off location — you already have them — so they're listed by destination pickup location and never counted in the Unassigned warning.
A Typical Cycle With Drop-offs
- While ordering is open: growers confirm or change their drop-off location from their dashboard
- After ordering closes: grower drop-off settings lock; export the transfer manifests as a PDF so each route has its sheet
- As growers deliver: staff at each drop-off use the drop-off check-in page to verify items and flag anything missing
- Transport: drivers follow the per-route manifests, checking off items as they load
- At the pickup location: pack and hand off orders using the regular checkout tools