Setting Up Your Market
A comprehensive guide to launching your LocallyGrown.net farmers market from start to finish
Market Setup Overview
Setting up a successful online farmers market is an exciting journey! This guide will walk you through every step, from initial planning to your grand opening. Most markets can complete this setup in 1-2 weeks with proper preparation.
Planning Phase
Define your market's mission and gather your founding growers
Technical Setup
Configure your market settings and payment processing
Grower Onboarding
Invite and train your growers to use the platform
Launch Preparation
Test everything and promote to your community
Phase 1: Planning Your Market
Before diving into technical setup, invest time in planning. Well-planned markets are more successful and sustainable.
Define Your Market's Purpose
🎯 Mission & Values
- What is your market's primary goal?
- Who are you serving in your community?
- What values guide your operations?
📍 Geographic Scope
- What area will your market serve?
- How far can growers reasonably travel?
- Where will shoppers come from?
👥 Target Audience
- Who are your ideal shoppers?
- What products do they want?
- What are their shopping habits?
📊 Market Size
- How many growers will you start with?
- What's your growth target?
- What sales volume do you expect?
Assemble Your Team
Successful markets need dedicated people in key roles:
- Market Manager: Overall operations, grower relations, and shopper service
- Technical Administrator: Platform management and troubleshooting
- Marketing Coordinator: Promotions, social media, and community outreach
- Pickup Coordinator: Manages pickup location and logistics
- Volunteer Coordinator: Recruits and manages helpers (if needed)
💡 Small Market Tip: One person can wear multiple hats initially. As you grow, delegate responsibilities to build a sustainable operation.
Phase 2: Technical Setup
Now let's get your market configured on LocallyGrown.net!
Step 1: Create Your Market Account
- Visit locallygrown.net and click "Start a Market"
- Choose your market's subdomain carefully (e.g.,
townname.locallygrown.net) - Enter your basic market information and your details as the market manager
- Check your inbox — we email you a welcome message with a temporary password. Sign in with it, and you'll be prompted to set a password of your own.
Step 2: Set Up Product Categories
Categories help organize your products and make shopping easier. When you first visit your market's page, you'll see the Product Category Setup Wizard if you don't have any categories yet.
⚠️ Important Notes About Category Setup
- One-time setup wizard: This wizard appears only when you have zero categories - it's designed for initial market setup. Once you create or import categories, you'll manage them through the regular market interface.
- Copying is permanent: The category import cannot be automatically undone. If you want to start fresh after importing, you'll need to delete all categories individually and then the wizard will reappear.
- Full editing capability: After importing or creating categories, you can rename, reorganize, add, or remove categories at any time through your market's edit mode.
- Smart visibility: Empty categories are automatically hidden from shoppers, so you don't need to worry about showing categories without products. They'll automatically appear once growers add products to them.
- No products are copied: Only the category structure is imported - not the actual products from the source market. Your growers will add their own products to the categories.
Step 3: Add Your First Products (If You're a Grower-Manager)
Many market managers are also growers who want to sell their own products. If that's you, here's how to add products to your brand-new market:
Quick Steps to Add Your Products:
- Make sure categories are set up: If you haven't already created or imported categories in Step 2, do that first. You can't add products without categories.
- Go to the market page: Click "Shop Local" in the navigation bar to access the market page where products are displayed
- Enable Edit Mode: Look for the "Edit Mode" toggle switch in the bottom-right corner and turn it ON
- Select a category and add a product: This is critical! The "Add
Product" button only appears after you select a category. You have two ways:
- Method 1: Click on a category name in the left sidebar (e.g., "Vegetables"), then click the "Add Product" button that appears
- Method 2: Right-click on a category name (or click the three-dot icon ⋮), then select "Add Product" from the menu
📌 Important: If a category has subcategories, you cannot add products to it directly. You must select a subcategory (the "leaf" category at the end of the tree). For example, if "Vegetables" has subcategories like "Leafy Greens" and "Root Vegetables", you must click into one of those subcategories first. - Fill in your product details: Add name, description, price, unit, quantity, category, and optionally upload a photo
- Click "Create Product": Your product is now live!
Common Questions for Grower-Managers:
A: No! Your market manager account already has grower permissions. Just add products directly using Edit Mode.
A: Products will be associated with your grower profile, which you need to create separately on the Growers page. As a market manager who is also a grower, you'll need to:
- Go to the Growers page and create a grower profile
- Associate your user account with that grower profile
- Choose a farm/grower name that's different from your market name to avoid confusion
Example: If your farm is "Old MacDonald's Farm", consider naming your market "Old MacDonald's Farm Market" to keep things clear for customers.
Note: Regular growers already have their accounts associated with their profiles—only market managers need to do this extra step.
A: Absolutely! Many market managers start by listing their own products first, then invite other growers once they've tested the system.
A: That's fine too! Skip this step and move directly to Step 4 (Configure Essential Settings) and Phase 3 (Grower Onboarding) to invite growers to your market.
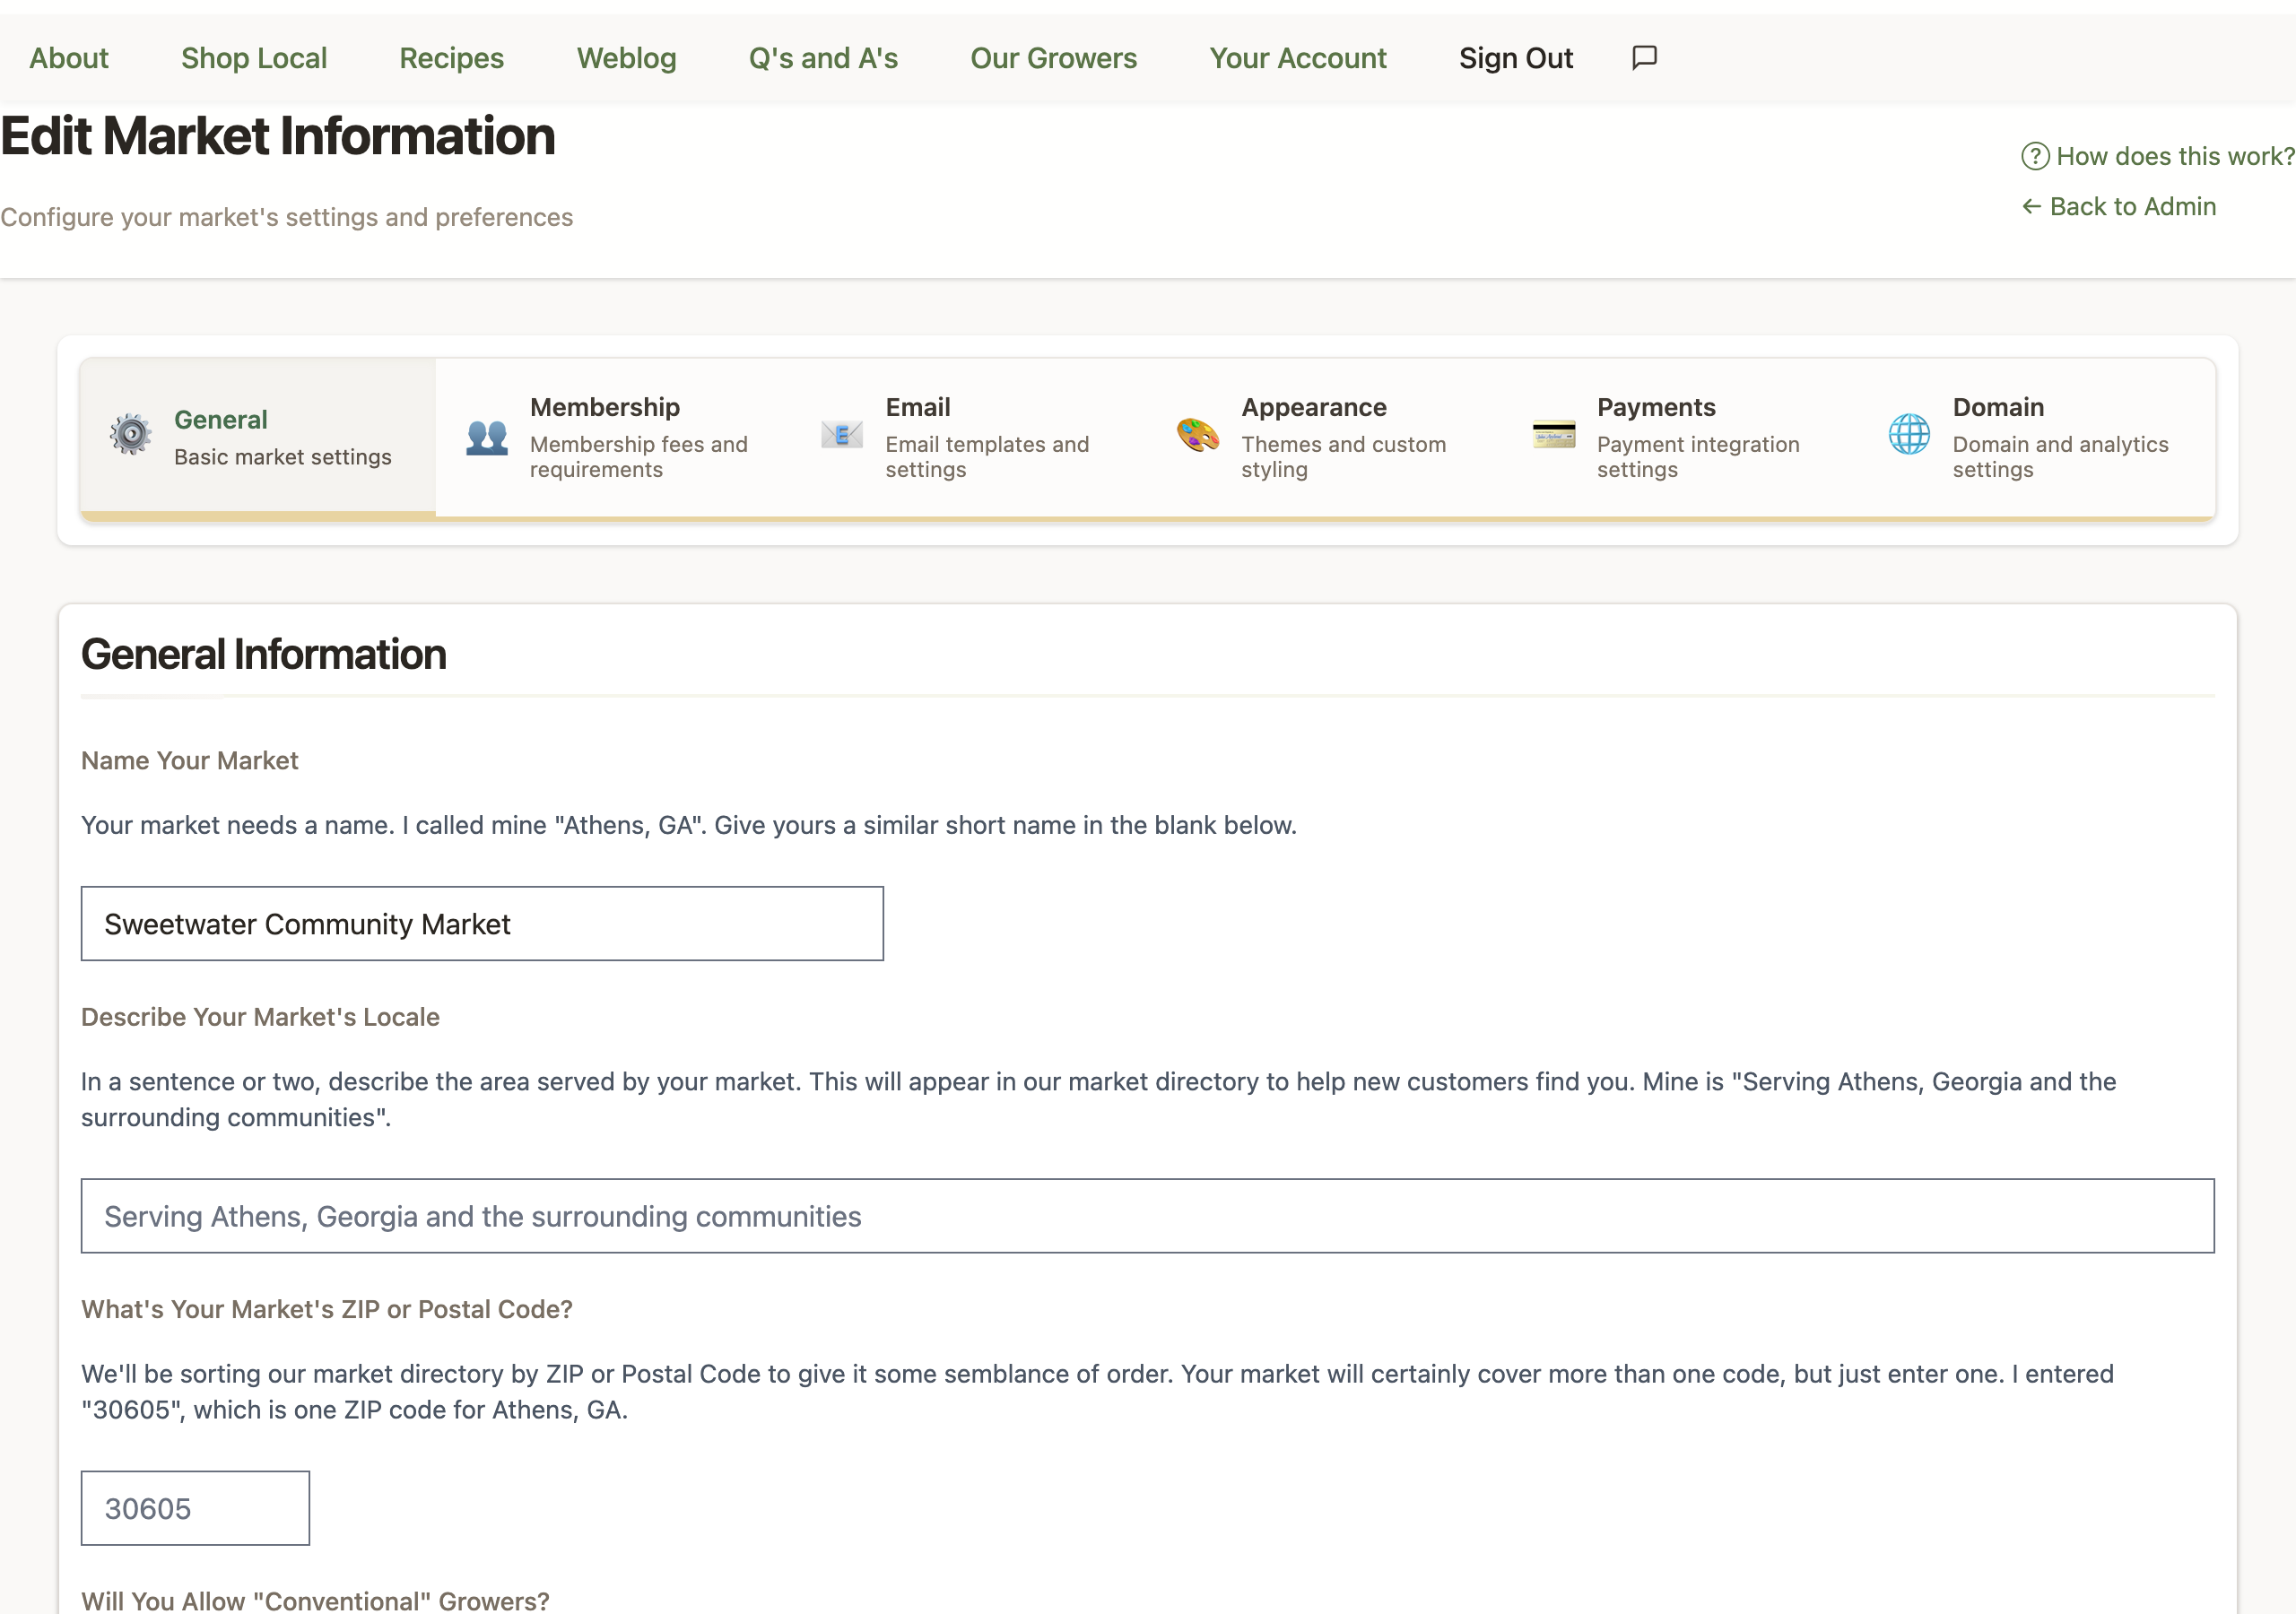
Step 4: Configure Essential Settings
Navigate to Admin → Market Settings and configure:
📝 Basic Information
- Market Name: Your official market name
- Tagline: A brief, catchy description (appears in headers)
- Full Description: Detailed information about your market
- Contact Email: Where shoppers can reach you
- Phone Number: For urgent shopper needs
- Physical Address: Your market's base location
⏰ Operating Schedule
- Time Zone: Critical for order cutoffs
- Season Dates: When your market operates
- Order Window: Days/times shoppers can shop
- Order Cutoff: When orders close before pickup
- Harvest Notification: When growers get their lists
💳 Payment Configuration
- Create a Stripe account if you don't have one
- Connect Stripe to your LocallyGrown market
- Configure payment options:
- Credit/debit card processing
- Shopper account balances
- Market fees (if any)
- Set up bank deposits schedule
Step 4: Create Pickup Locations
Go to Admin → Pickup Locations and add:
- Location Name: Clear, recognizable name
- Full Address: Include landmarks if helpful
- Pickup Day/Time: When shoppers collect orders
- Instructions: Parking, finding the pickup spot, etc.
- Contact Person: Who's in charge during pickup
📍 Example Pickup Location
Name: Downtown Farmers Pavilion
Address: 123 Main Street (behind City Hall)
Time: Saturdays 9:00 AM - 12:00 PM
Instructions: Park in Lot B. Look for the LocallyGrown banner at the pavilion entrance. Our team will have your order ready with your name on it.
Phase 3: Grower Onboarding
Your growers are the heart of your market. Help them succeed from day one!
Recruiting Growers
🎯 Target 5-10 Founding Growers
Start with committed growers who understand online sales. Quality over quantity!
📋 Look for Diversity
Mix of vegetables, fruits, proteins, and value-added products creates a complete market.
🤝 Set Clear Expectations
Explain time commitments, technology needs, and your market's standards.
Grower Training Program
Schedule a training session (in-person or virtual) covering:
- Platform Basics: Logging in, navigation, and key features
- Product Management: Adding products with great photos and descriptions
- Inventory Control: Setting quantities and managing availability
- Order Processing: Reading harvest lists and preparing orders
- Shopper Service: Communication standards and policies
🎓 Training Resources
- Share the Grower Getting Started Guide
- Create a simple one-page "cheat sheet" for common tasks
- Set up a grower group chat for peer support
- Offer one-on-one help for less tech-savvy growers
Grower Agreement
Establish clear policies in a simple agreement covering:
- Product quality standards
- Accurate product descriptions
- Reliable inventory management
- Timely order fulfillment
- Professional shopper communication
- Market fee structure (if applicable)
Phase 4: Launch Preparation
You're almost there! Let's make sure everything is ready for a smooth launch.
Pre-Launch Checklist
✅ Technical Readiness
✅ Grower Readiness
✅ Marketing Readiness
Soft Launch Strategy
Consider a "soft launch" before going fully public:
- Week 1: Friends & family only - iron out any kinks
- Week 2: Limited public launch - monitor and adjust
- Week 3: Full public launch with marketing push
⚠️ Common Launch Mistakes to Avoid
- Launching with too few products or growers
- Not testing the full order-to-pickup process
- Insufficient promotion before launch
- Unclear pickup instructions
- No backup plan for technical issues
Launch Week Activities
Make your launch week special and build momentum!
📅 Monday - Open for Orders
- Send launch announcement email
- Post on all social media channels
- Alert local media contacts
- Monitor for technical issues
📅 Tuesday-Wednesday - Build Momentum
- Share grower spotlights
- Post product highlights
- Respond to shopper questions
- Track order numbers
📅 Thursday - Order Cutoff
- Send last-chance reminder
- Close orders on time
- Generate harvest lists
- Confirm with all growers
📅 Friday - Preparation Day
- Growers harvest and pack
- Prepare pickup area
- Print shopper lists
- Brief pickup volunteers
📅 Saturday - First Pickup!
- Arrive early to set up
- Welcome shoppers warmly
- Take photos for social media
- Gather feedback
Post-Launch: Building Success
Congratulations on launching! Now let's build on that momentum.
Week 1 Follow-Up
- Send thank-you email to all shoppers
- Survey shoppers for feedback
- Debrief with growers
- Address any issues that arose
- Plan improvements for week 2
Ongoing Growth Strategies
📈 Add Growers Gradually
Onboard 1-2 new growers monthly as demand grows
🎯 Focus on Shopper Experience
Smooth operations build loyalty and word-of-mouth
📱 Maintain Active Communication
Weekly newsletters and social media keep engagement high
📊 Track Your Metrics
Monitor sales, shopper growth, and grower satisfaction